Without changing a word, you can make your content easier to consume.
Don’t expect a thank-you note. But do look for signs your audience appreciates the effort (more frequent visits, views, and listens, for example).
The six tactics in this article make content easier to consume by helping manage time expectations, offering shortcuts, and letting people choose the format they prefer or need.
1. Belly up to a reading bar
Many content destinations (including this website) show a reading time estimate at the beginning of each article. You can see the time estimate at the top of this article next to the byline and published date.
Here’s another recent CMI example showing a reading estimate of about 11 minutes:

Estimating time to read helps people decide whether to read the article now or save it to read later. They also can use it to assess at a glance whether the piece covers the topic in detail or offers a brief overview.
Adding a reading time estimate helps people decide whether to read the article now or save for later, says @AnnGynn via @CMIContent. Click To Tweet
Other tools support the audience throughout the article. Epsilon, for example, includes a progress bar for its written content as well as the estimated reading time:
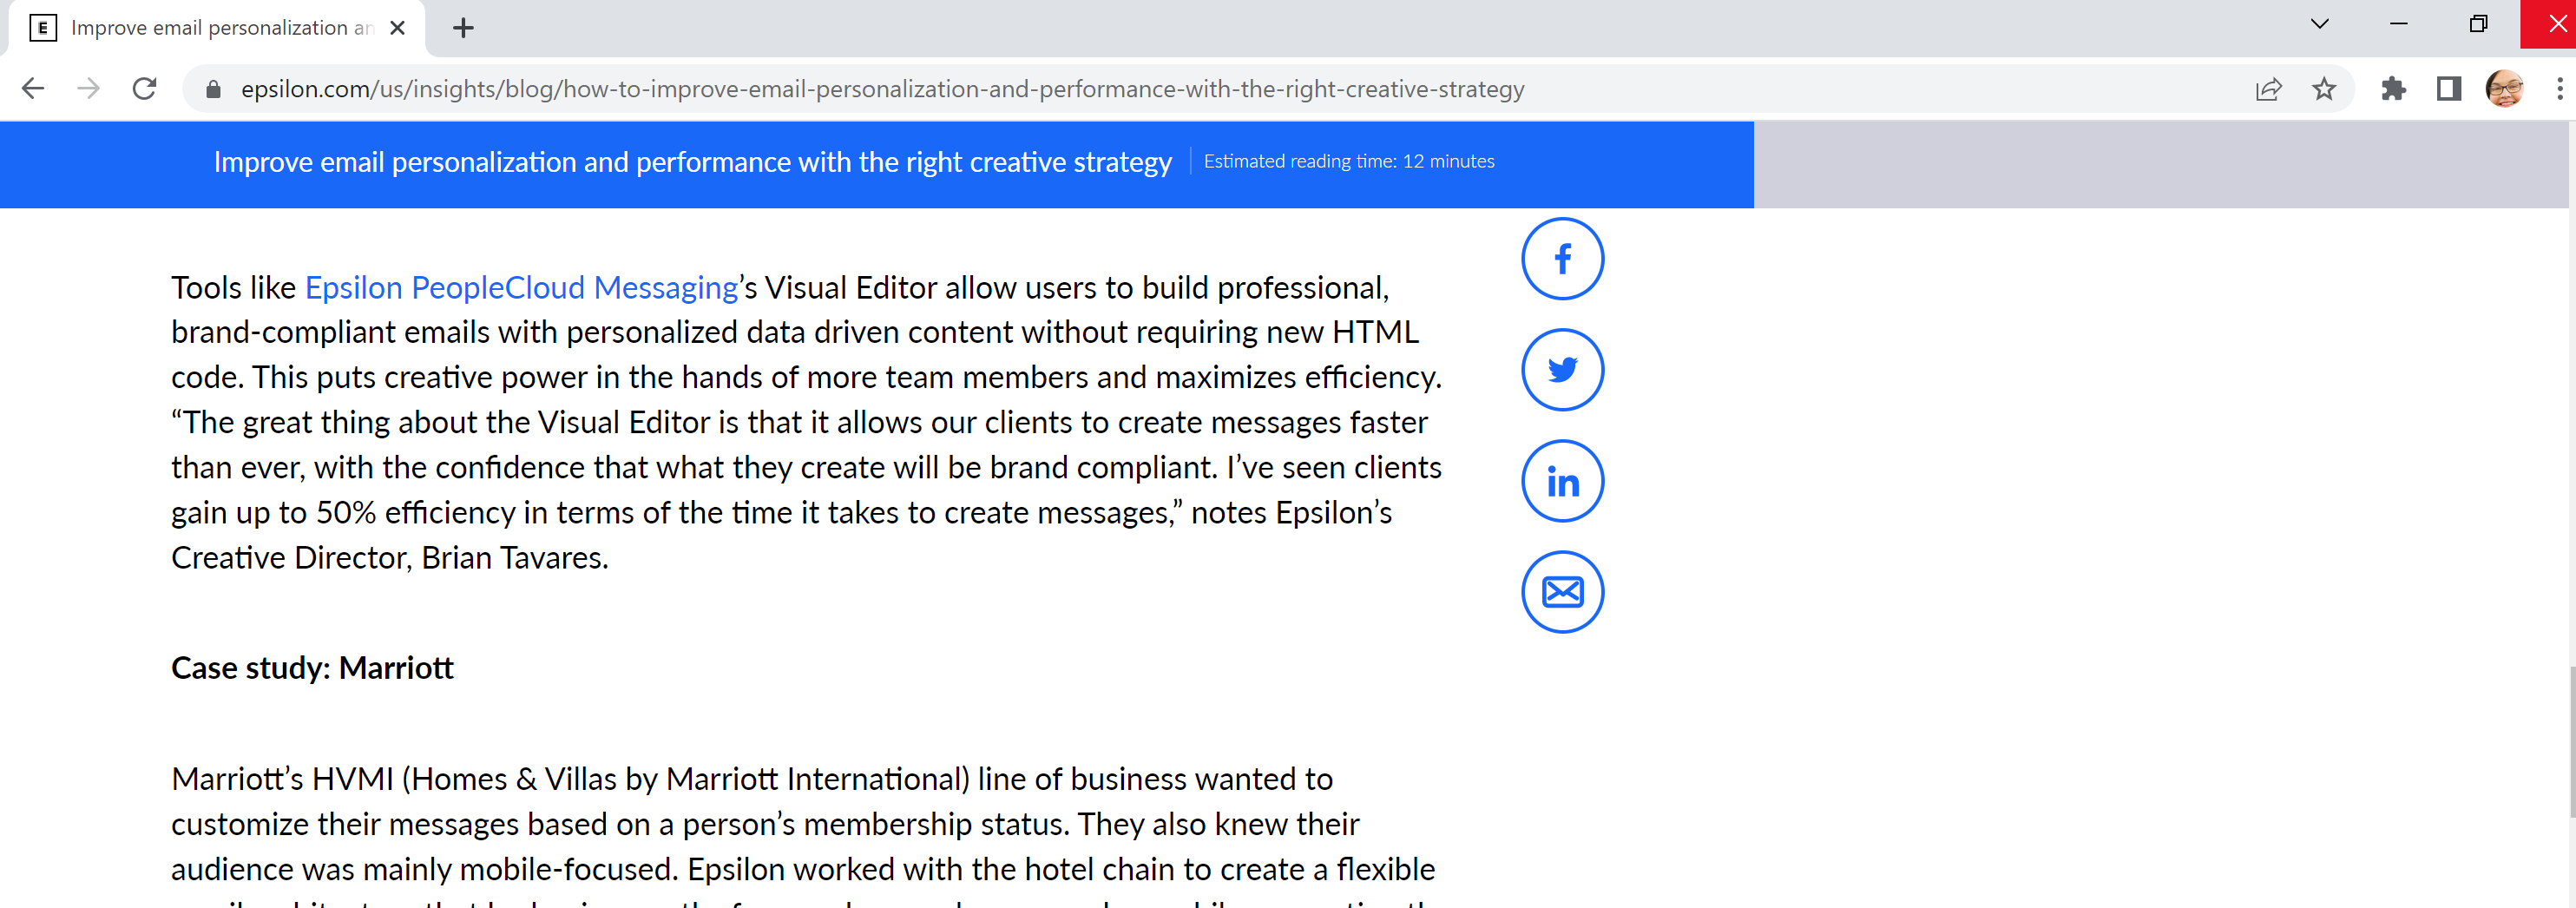
Progress bars help audiences with long-form content. They let readers glance at the progress bar to see how much more time they need to finish the piece instead of scrolling to the top to remind themselves of the reading estimate. (This trick also works well to keep people taking surveys from giving up with only a question or two to go.)
I don’t know what specific tool Epsilon uses. But multiple plugins exist to provide this feature. For example, the WordPress plugin Read Meter analyzes text and images to calculate time and progress.
2. Create chapters for your videos and podcasts
Ever watch a how-to video where you wished you could skip over the sections you understand and easily find the steps you need to see? Or maybe you’ve listened to a podcast that recounts details you already know and found yourself wanting to skip to another section of the story.
Your audience likely feels a similar desire with some of your content. Timestamps and chapter markers put them in control of the viewing or listening experience.
YouTube lets you use timestamps and visuals to designate video chapters. For example, the YouTube Creators video explaining the feature includes three chapters:
- 0:00 An intro to video chapters
- 0:23 How to set up video chapters
- 1:07 See video chapters in action
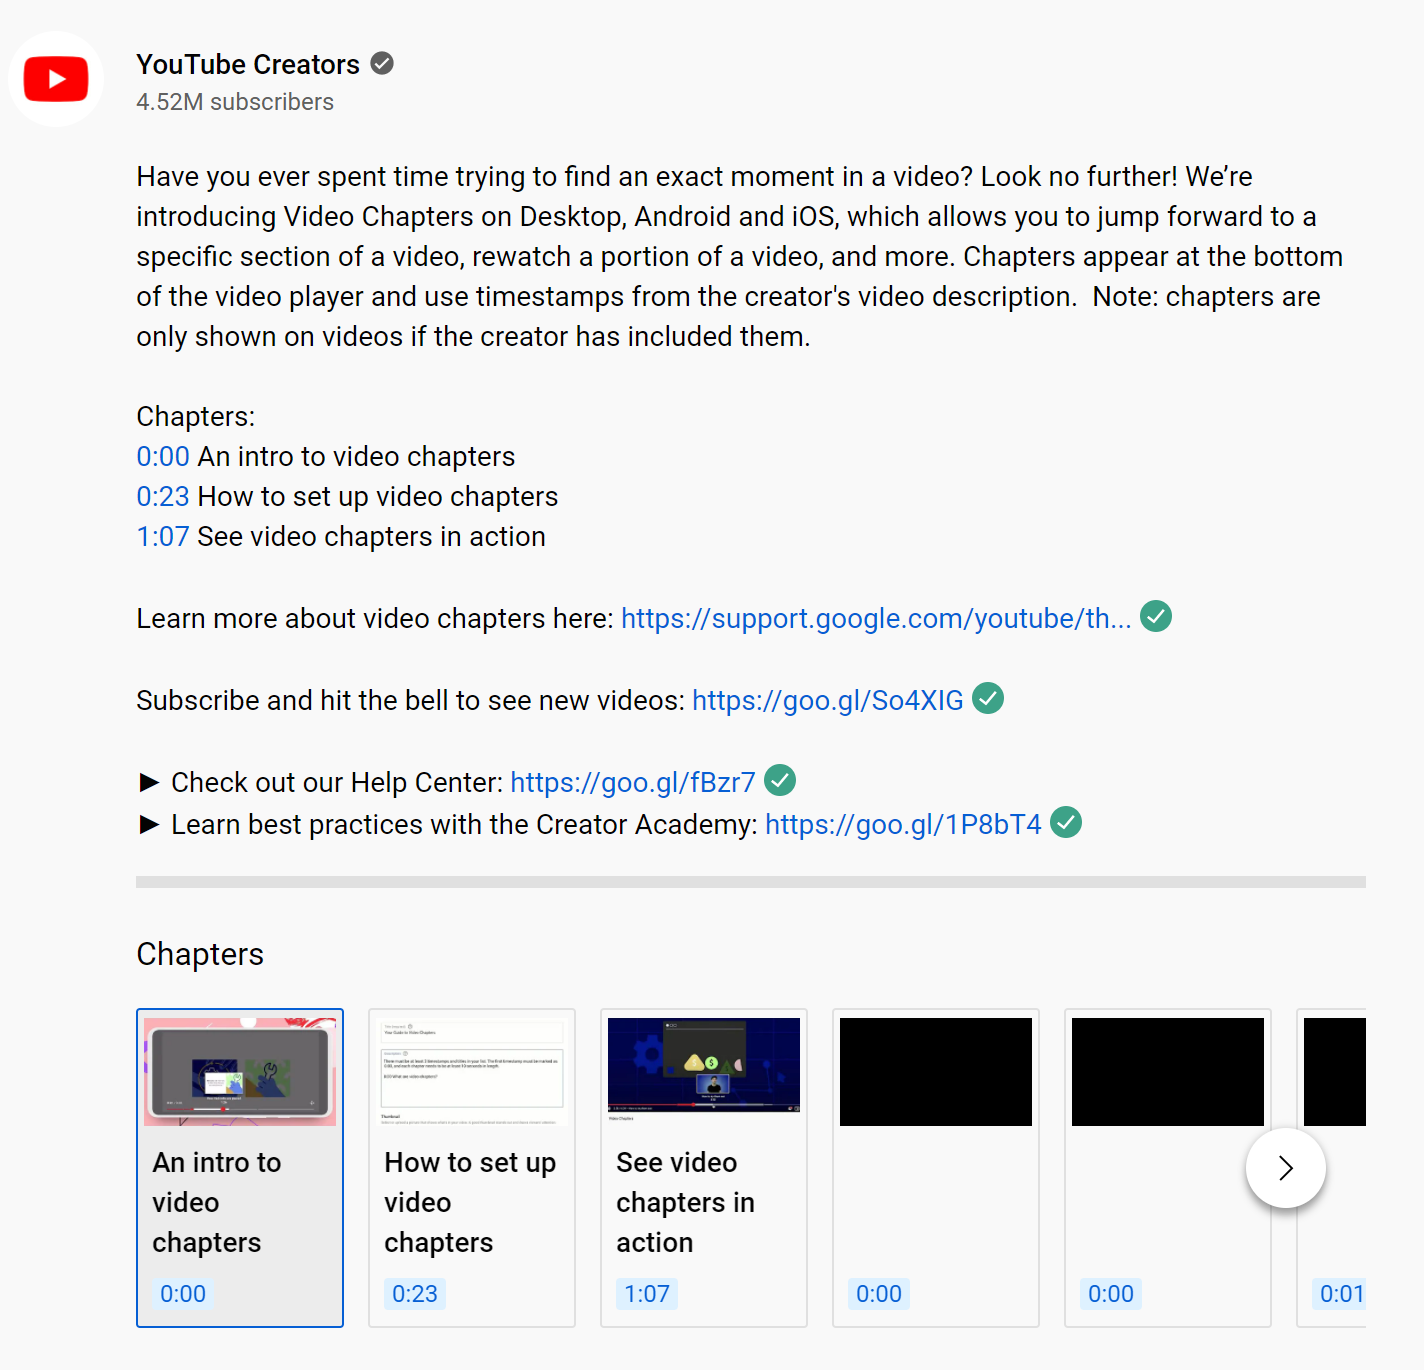
The how to do time stamps video only lasts 80 seconds, but the chapters help viewers get to the exact spot they want:
If you publish videos on @YouTube, it makes sense to help your audience by including timestamps and chapter markers, says @AnnGynn via @CMIContent. Click To Tweet
YouTube offers step-by-step instructions for automating chapters or doing them manually.
You can also use podcast time stamps to help listeners go directly to what they want to hear. Each hosting platform is slightly different, but most let you note the timestamps in your show notes or episode description. In some cases, the platform’s tool will let you link the time stamp to that moment in the episode.
This video shows how to do that with WordPress or Captivate podcast sites:
3. Create a linked table of contents
A table of contents at the top of text-based content lets you lead readers through your text, just as timestamps and chapters guide your video viewers and podcast listeners.
Create a linked table of contents to lead readers through your text, says @AnnGynn via @CMIContent.
This tactic works well for content that covers several tips or subject areas. You could create a traditional table of contents or publish the key points detailed in the article.
You don’t need a separate tool to create a linked table of contents. You can create one using HTML anchor links. Here’s an example of a linkable table of contents, giving readers the option to jump to sections in the article on the table of contents (yes, it’s a meta example), such as bullet styles and how to create a clickable link:

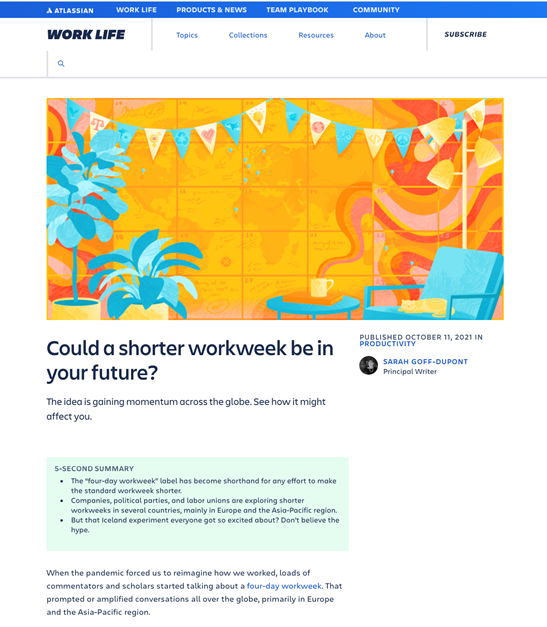
Another approach is to list the article’s key points right at the start. For example, Atlassian’s award-winning Work Life blog includes a five-second summary box at the top of each article. (Each post includes a progress bar, too).
The summary for the 2,000-word article Could a Shorter Workweek Be in Your Future? offers these points:
- The “four-day workweek” label has become shorthand for any effort to make the standard workweek shorter.
- Companies, political parties, and labor unions are exploring shorter workweeks in several countries, mainly in Europe and the Asia-Pacific region.
- But that Iceland experiment everyone got so excited about? Don’t believe the hype.
4. Get specific with your links
Have you noticed that some Google search results take you directly to the relevant section of an article? That feature saves you from searching through the whole article to find what you’re looking for.
You can offer that same benefit to your audience using Link To Text Fragment. The Google Chrome extension lets you link directly to a highlighted or salient point on a page or site.
@GoogleChrome #LinkToTextFragment extension allows for linking to arbitrary text on a page so your readers don’t have to search through the entire article, says @AnnGynn via @CMIContent. Click To Tweet
5. Let people listen
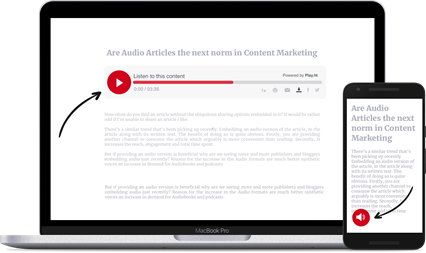
The Washington Post lets readers consume some of its content in audio form. A headset icon and text, “Listen to the article,” appears at the top of pages that include audio. The module also shows the estimated time to listen.

You can do the same with your content. Sure, accessibility tools help those with hearing difficulties transform text into audio, but why not solve the problem for them? At the same time, you also can help your audience who might want to listen to your content on the go.
BeyondWords and Play.ht are two plugins that let you create an audio bar at the top of your content.
6. Show me the text
You should provide transcripts to help your audience members who have hearing challenges consume your content in ways other than captions on screen. If you’re not doing so already, it’s time to start.
Companies such as Rev, Otter.ai, and Happy Scribe (freemium) offer transcription services. To use them, you upload the video or audio file. Then, depending on the service, you can select an AI-only transcription or a human-created version.
TIP: If you record a video on Zoom, make sure to save it to the Zoom cloud, not your computer. You can then request a free automated transcription.
If you record a video on @Zoom, make sure to save it to the Zoom so you can request a free automated transcription, says @AnnGynn via @CMIContent. Click To Tweet
Go easy on your audience
All these tactics make content consumption easier. As it turns out, each one is easy to implement through plugins, automated services, or simple HTML coding.
Best of all, they present big opportunities to attract and retain an audience with little additional effort.
Are you using any of these approaches? Let me know in the comments which ones work best for your audience.
Editor’s note: No one post can provide all relevant tools in the space. Feel free to include additional tools (from your company or ones you have used) in the comments.
Cover image by Joseph Kalinowski/Content Marketing Institute


